Actions
Importing Images
In the Cartographer App, there are two ways to import images:
- From a local MEI file — the file references images hosted on a IIIF server.
- Directly from a IIIF server — by providing the IIIF manifest link.
Importing from a Local MEI File
Click the menu icon in the header to open the options.
Select "Upload MEI File" to import an MEI XML file.
- You can load the provided test dataset by clicking "Load Test Data".
- Or click "Choose File" to open a file selection dialog and upload your own MEI file.
- After selecting a file, click "Load" to complete the import.
- To cancel, click "Cancel".
Step-by-Step
Click the menu button in the header.
Choose one of the following:
- "Load Test Data" → imports the sample dataset provided with Cartographer.
- "Choose File" → opens a dialog to select a file from your computer.
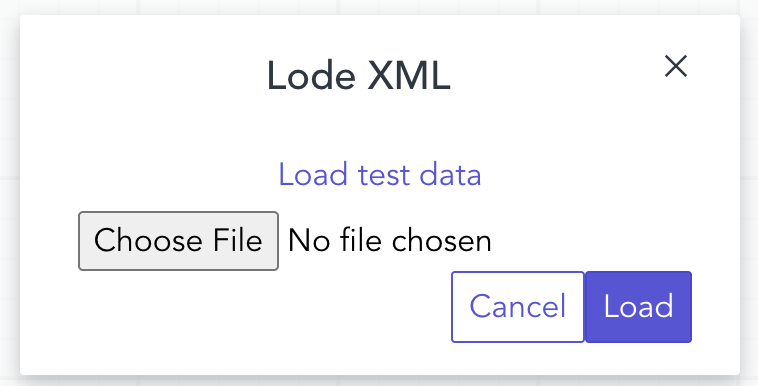
Image 1: Import MEI dialogClick "Load" to import the file.
(Optional) Click "Cancel" to exit without importing.
Importing Directly from a IIIF Server
Click the menu icon in the header to open the options.
Select "Import IIIF Manifest" to import images directly from a IIIF server.
When you select "Import IIIF Manifest", a dialog appears:
- "Get Test URI" → load the provided test manifest URI.
- "Paste Your URI" → manually paste your own IIIF manifest URI in the input box.
- "Import" → confirm and load the images.
- "Cancel" → close the dialog without importing.
Step-by-Step
Click the menu button in the header.
Choose one of the following:
- "Get Test URI" → use the sample manifest provided with Cartographer.
- "Paste Your URI" → enter your own IIIF manifest URI in the input field.
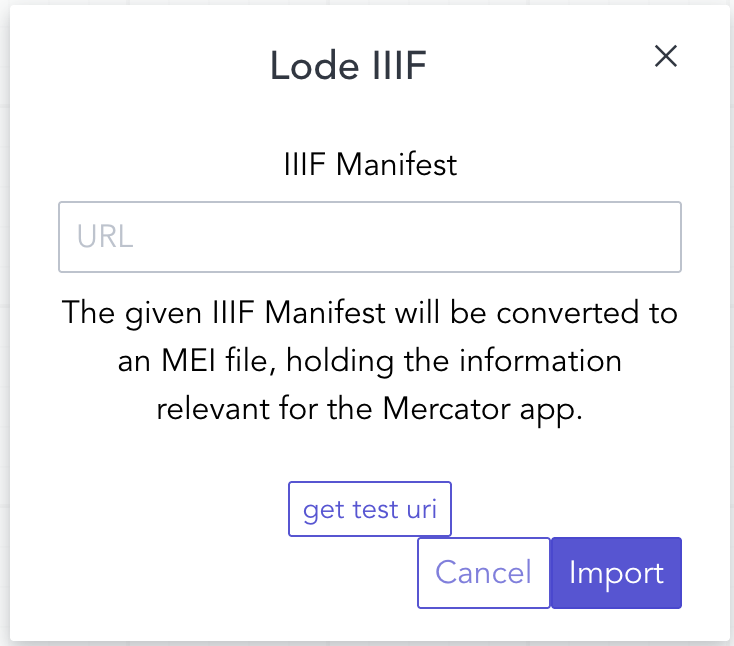
Image 2: Import IIIF Manifest dialogClick "Import" to load the images.
(Optional) Click "Cancel" to close the dialog.
Download MEI File
Click "Download MEI File" in the header menu to save the current MEI file to your local machine.
Show Page Overview
Click "Page Overview" in the header menu to display a list of all pages with detailed information.
This view also contains a button to copy and paste a IIIF manifest ("Import Images").
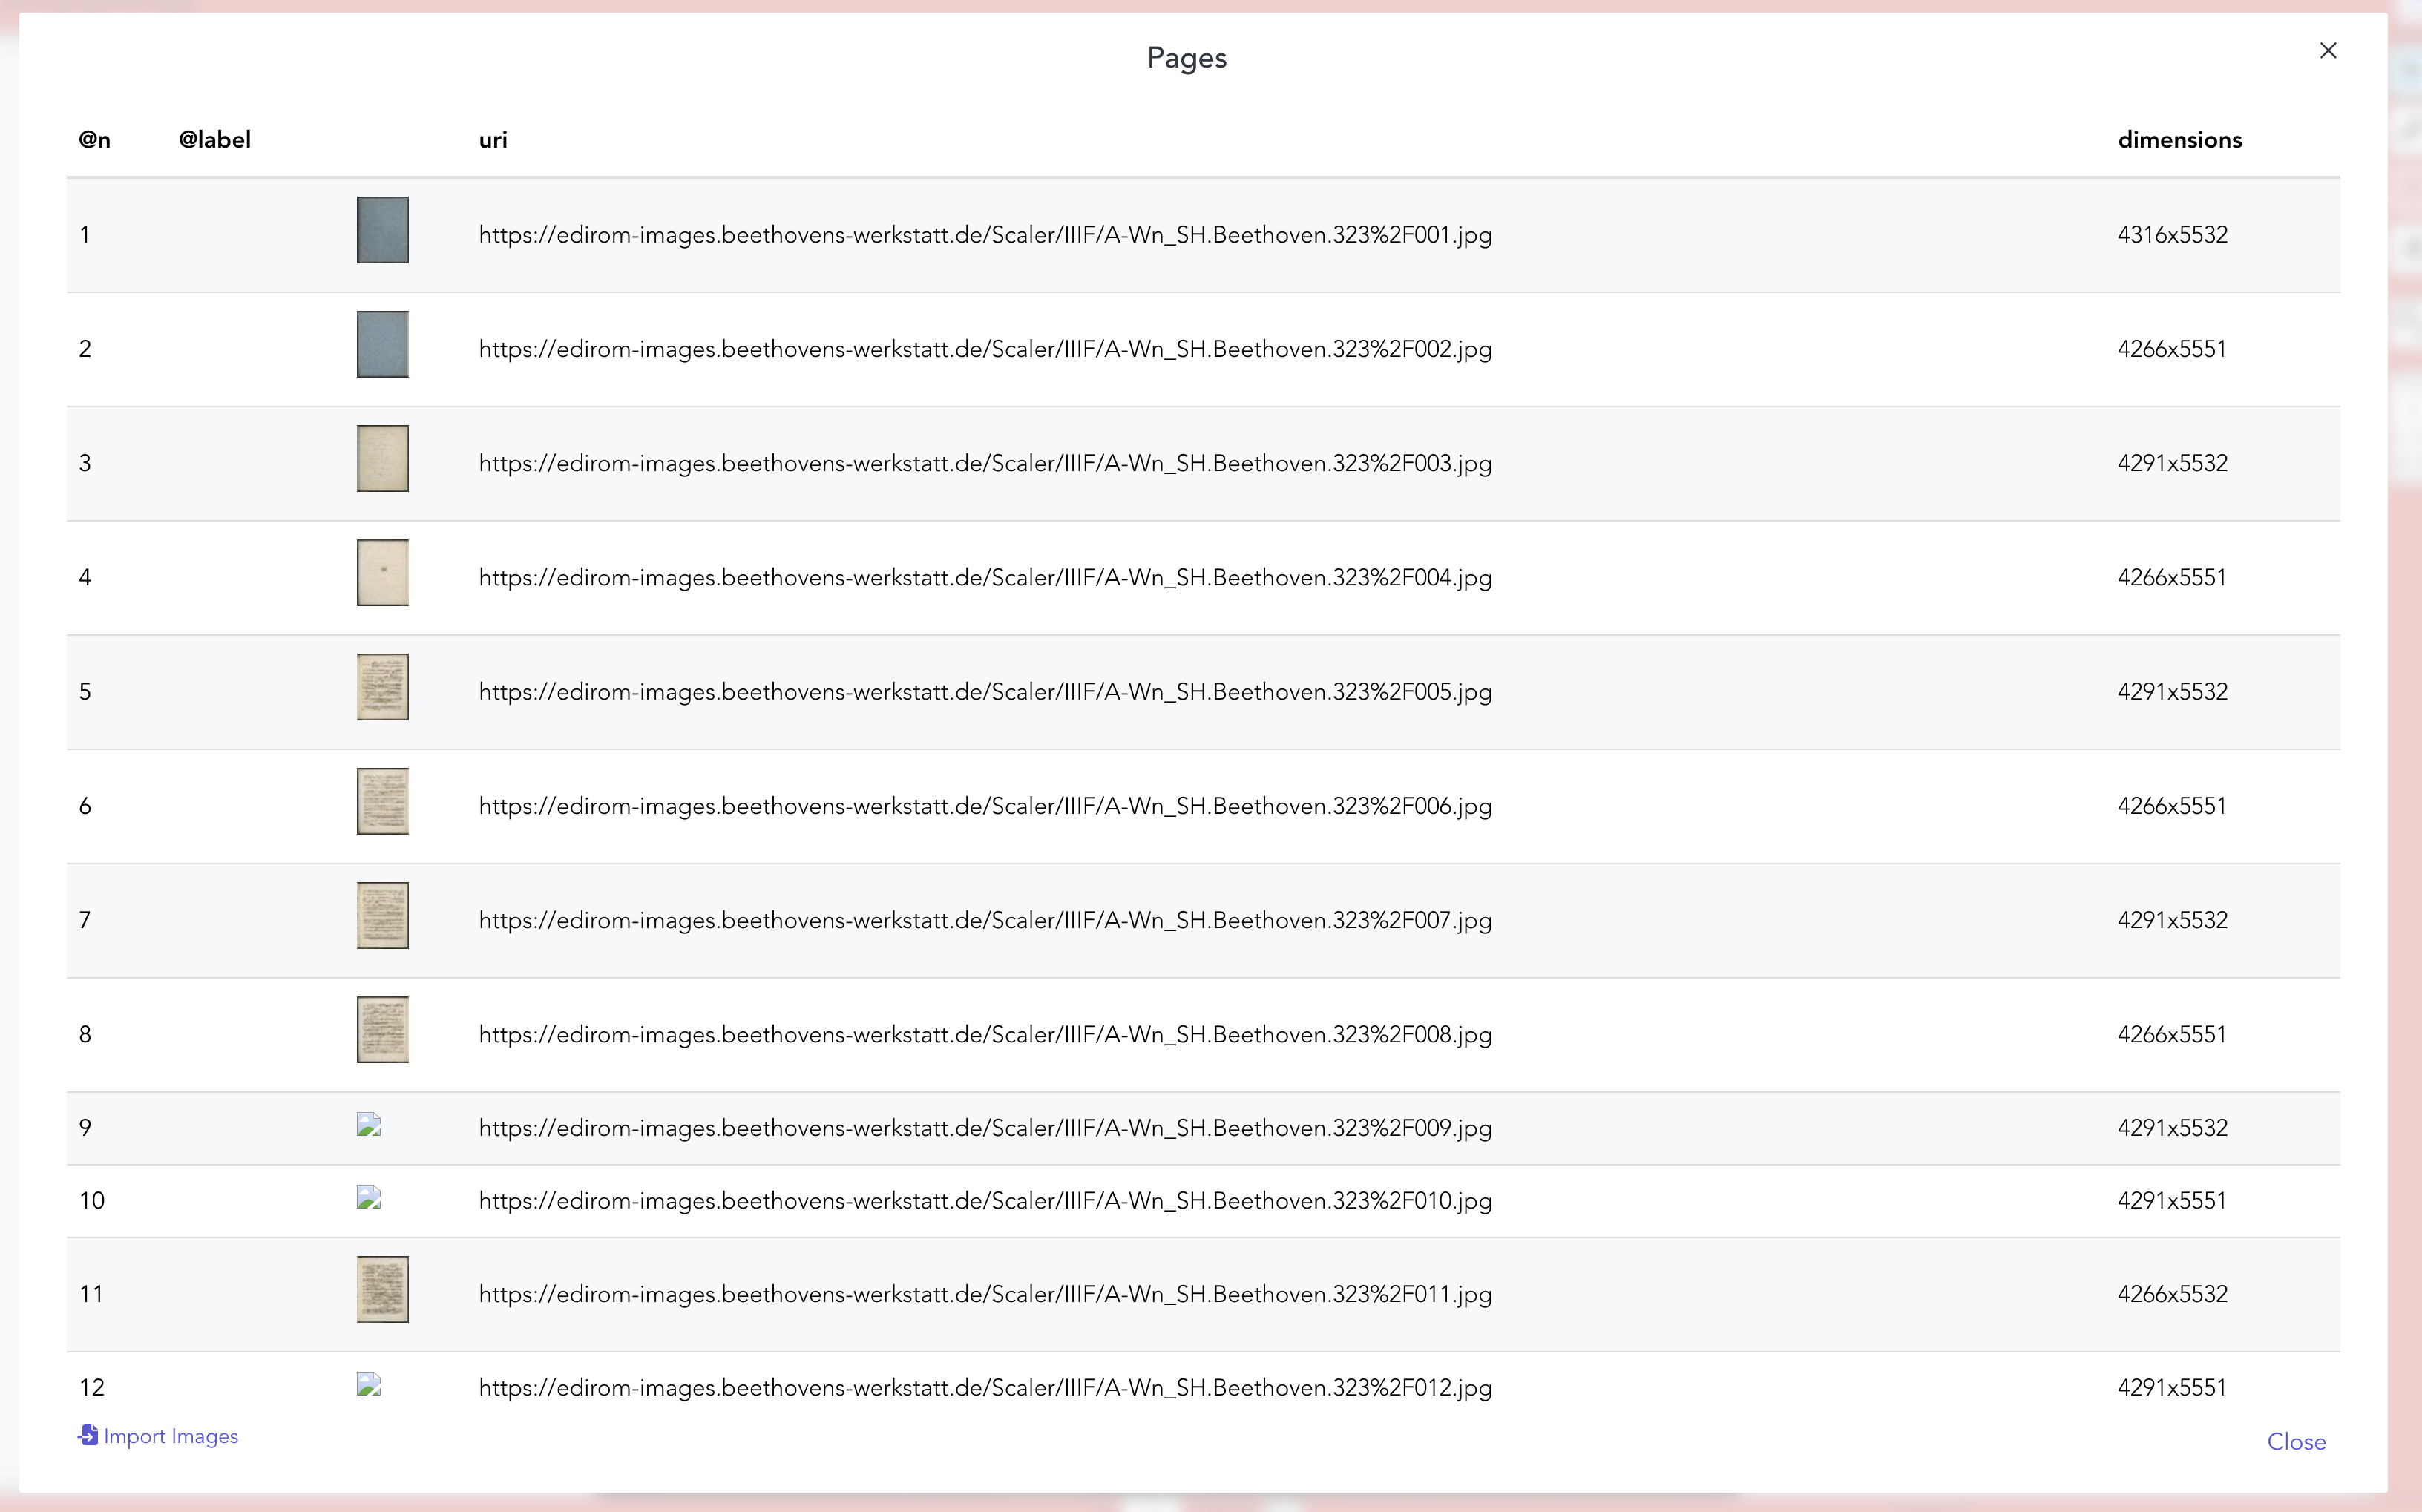
Image 3: Page Overview
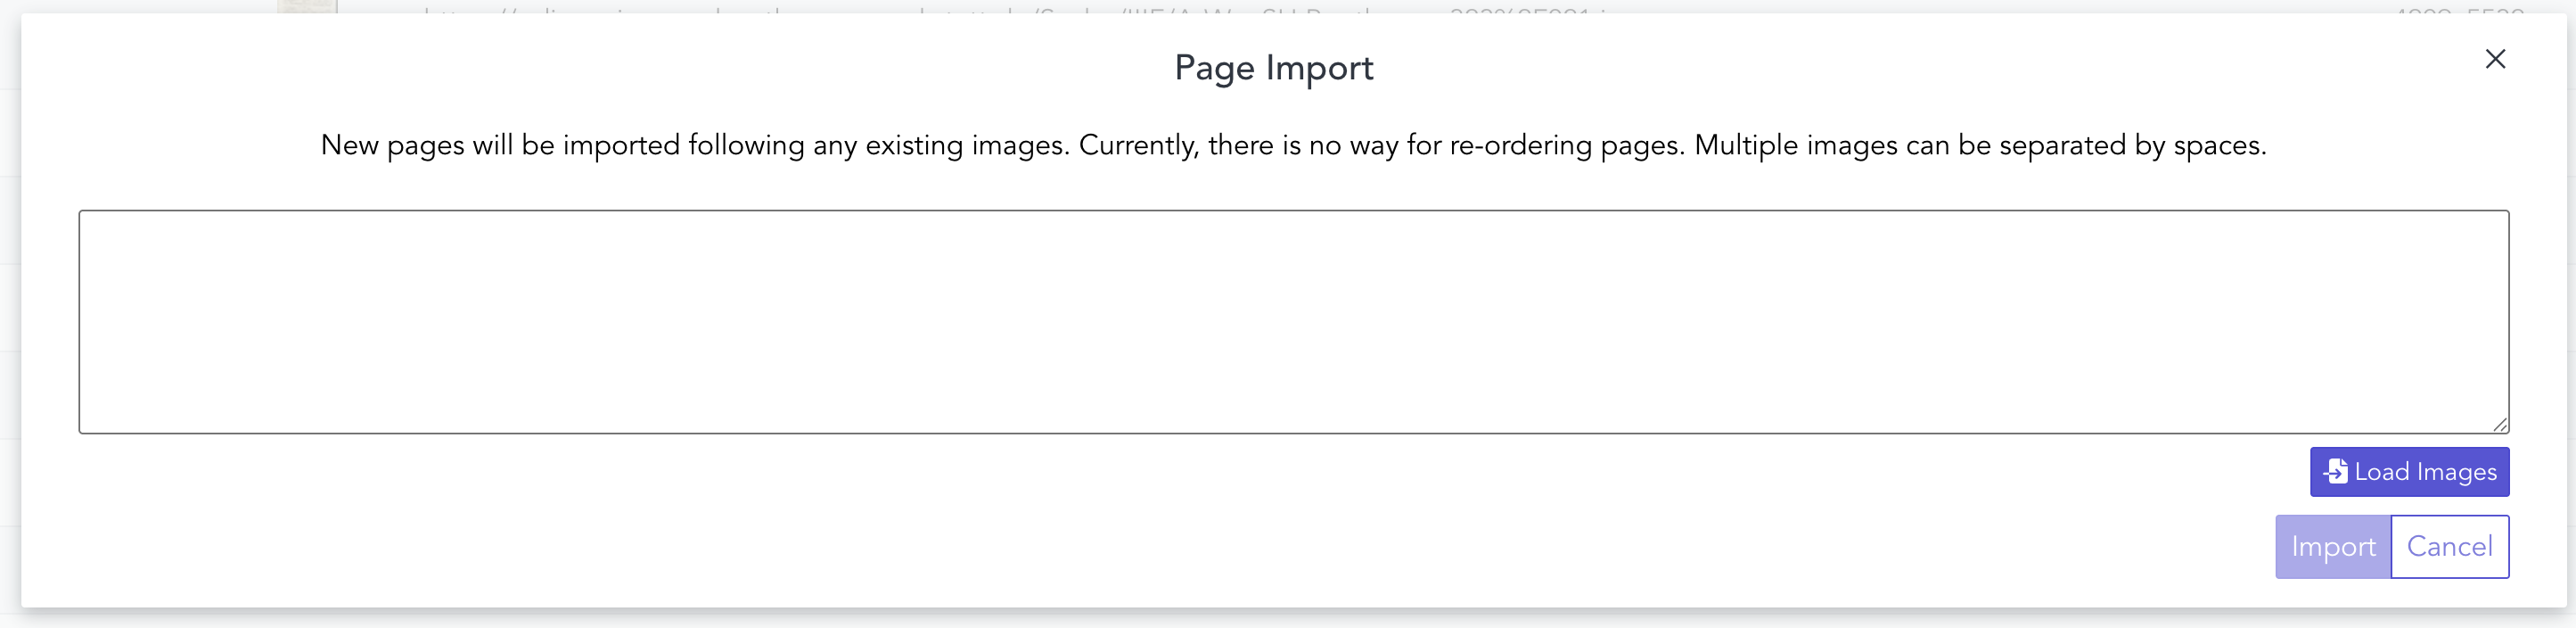
Image 4: Import Images
Toggle Measure List
Click "Toggle Measure List" in the header menu to show or hide the list of musical measures next to the right toolbar.
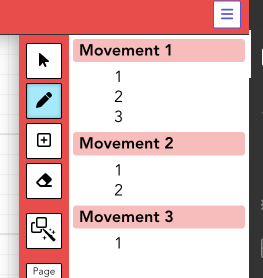
Image 5: Toggle Measure List
Selecting Regions
Click "Select" (pointer icon) to choose and adjust existing regions. (See number 1 in image 6)
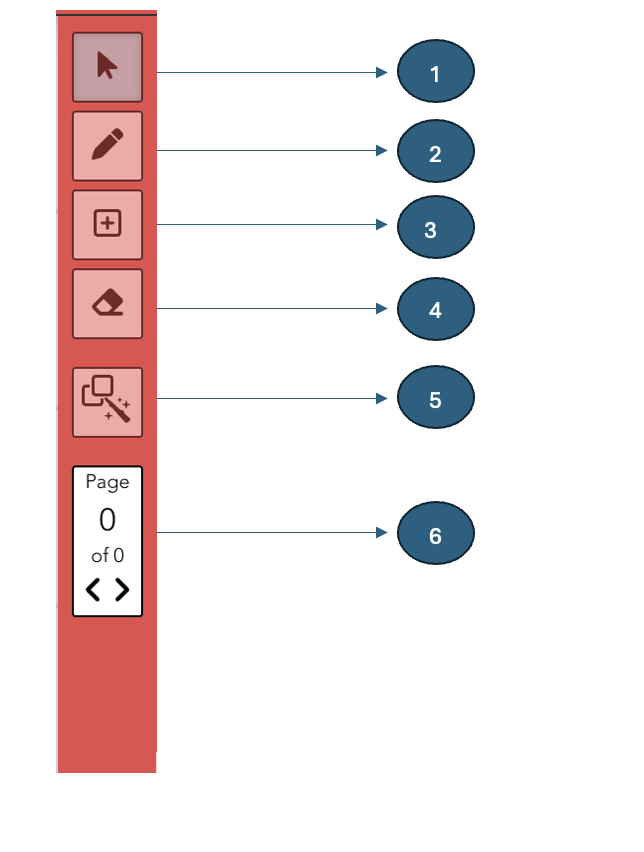 Image 6: Menu bar actions
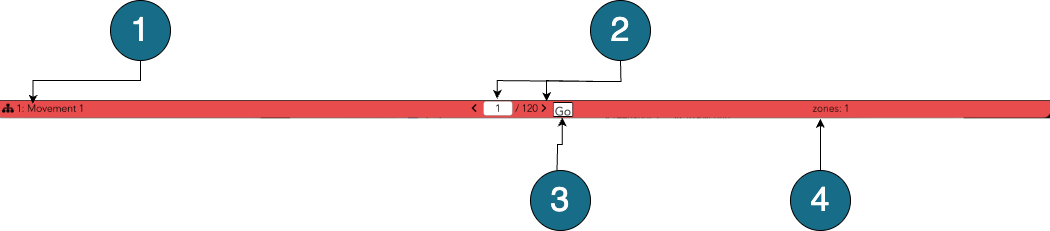 Image 7: Footer actions
Drawing Measures
Click "Draw" (pencil icon) to draw measures. (See number 2 in image 6) Hold the Shift key and drag to create the region.
Adding Multiple Measures
Click "Add Measures" to insert additional measures with the same number. (See number 3 in image 6) Hold the Shift key and draw the next measure adjacent to the previous one.
Erasing Measures
Click "Erase" icon to delete a measure.
After deletion, don’t forget to deactivate the erase tool. (See number 4 in image 6)
Automatic Measure Detection
Click "Automatic Detection" to run measure detection on the current page. (See number 5 in image 6)
Navigate Through Pages
Use the "Previous" and "Next" navigation buttons in the sidebar or footer. (See number 6 in image 6) To jump to a specific page, type the page number in the footer’s input box and click "Go". (See number 3 in image 7)
Create a New Movement
Double click a measure where you want to start a new movement.
From the dropdown, select "new-mdiv", then click "Close" to confirm. (See image 8)
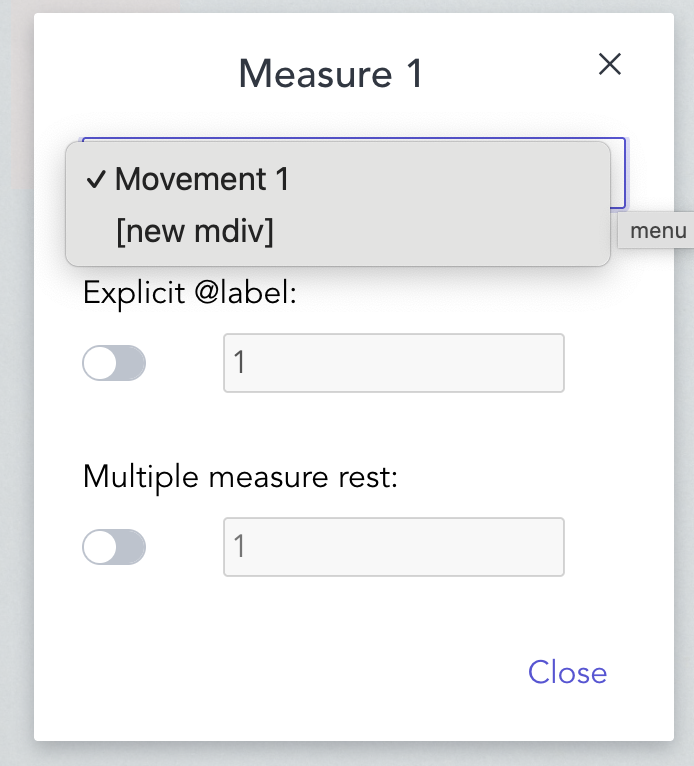 Image 8: Create New Movement
Change Measure Labels
Double click the measure you want to edit.
Enable "Explicit @label", type the new label, and click "Close". (See image 9)
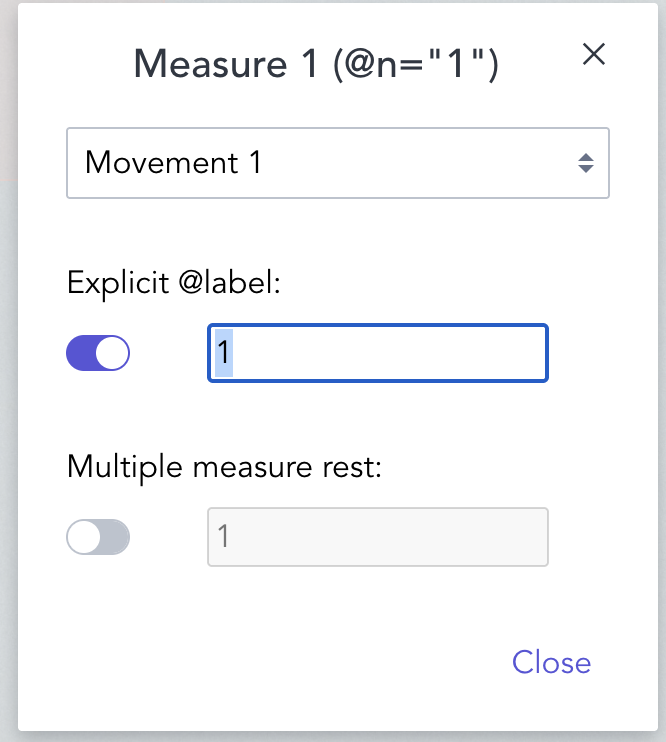 Image 9: Change Measure Label
Add Multiple Measure Rest
Enable "Multiple Measure Rest".
Enter the number of measures in the input box, then click "Close". (See image 10)
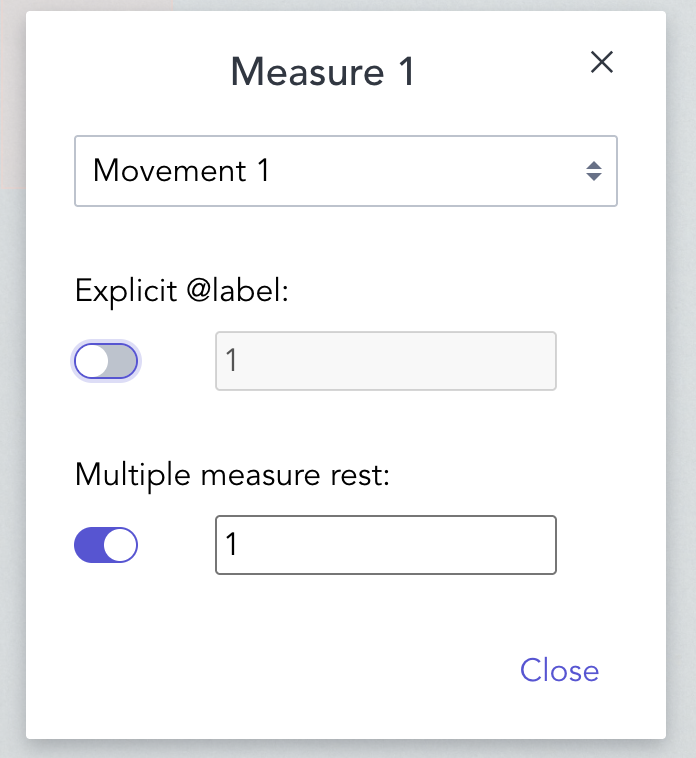 Image 10: Multiple Measure Rest
Change Movement Label
Click the "Movement" button in the lower left corner of the footer. (See number 1 in Image 7) Edit the movement name in the input box. (See Image 11) When finished, click "Close".
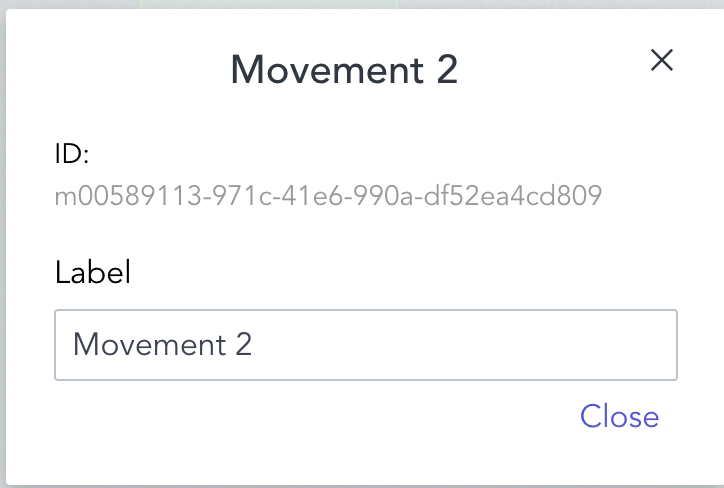 Image 11: Change Movement Label
Change Movement
To change the movement of a measure, double-click on the measure you want to edit.
A new window will appear (see Image 12).
From this window, choose the movement to which the selected measure should belong.
- If the current movement is before the new one, the measure and all following measures will be reassigned.
- If the current movement is after the new one, the measure and all previous measures will be reassigned.
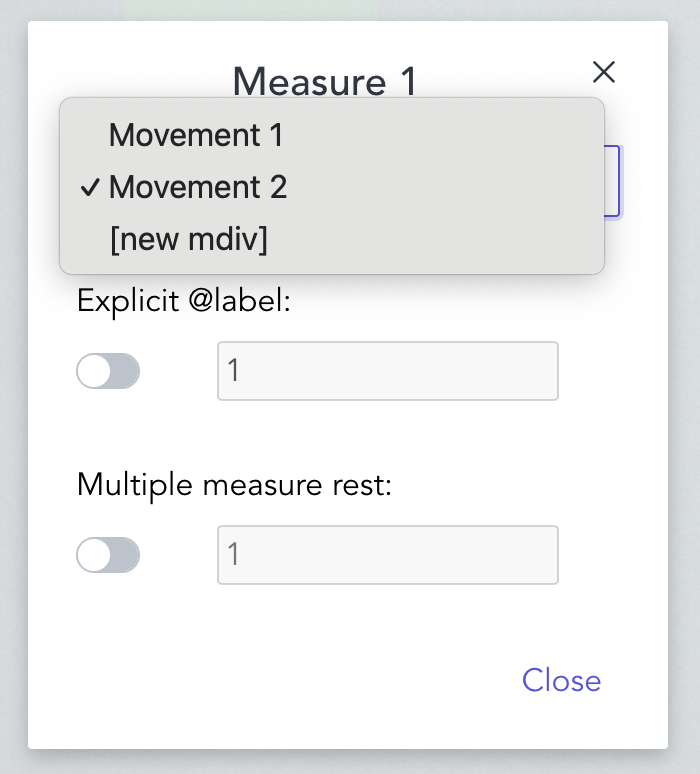
Image 12: Change Movement Window